How to update Windows 11 and Secure Boot Certificates before the deadline!
It’s currently the 30th of May as I write this and next month Secure Boot certificates begin to expire. In this article I will show you how you can easily update yours on Windows 11. I’ll also show you how to update an old version of Windows 11 such as 23H2. The deadline is rapidly approaching, so if you’re on a Windows PC, read on!
First, let’s check if Secure Boot is enabled on your PC, type in ‘Windows Security’ and click the icon in the windows start menu, then on the left click ‘Device security’. If you see a section called ‘Secure boot’ with an icon with a green tick and the words ‘Secure boot is on and all required certificate updates have been applied’, then congratulations you don’t need to do anything, your certificates are up to date.
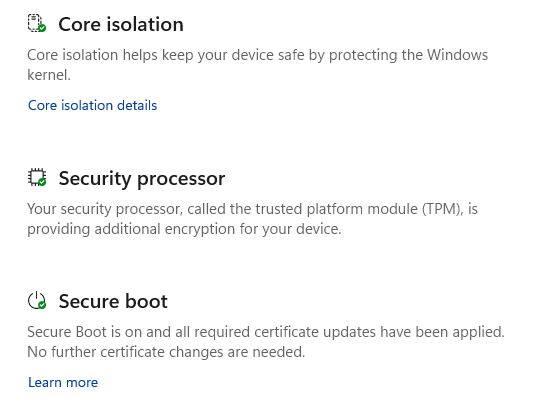
If however you don’t see a Secure Boot section or the message says something else then carry on reading! If you don’t have Secure Boot enabled, then it’s time to restart your PC and go into your BIOS, this usually involves mashing a key such as delete (in my case) to enter the BIOS screen. You can find online which key you need to mash if you do a search for your motherboard make and model.
Once in the BIOS, find your Secure Boot option and make sure it’s enabled, then save the settings and reboot the PC. Windows should then boot normally, once in Windows go back into the Windows Security app and check if Secure Boot is enabled and if the certificates are up to date, if not don’t worry.
There is another way to verify if you have the latest certificates, open up a Windows PowerShell as an administrator (Press the Windows key, type ‘PowerShell’, and right click the icon and click ‘Run as administrator’). Once in the PowerShell, paste in the following commands and press enter:
[System.Text.Encoding]::ASCII.GetString((Get-SecureBootUEFI KEK).bytes) -match 'Microsoft Corporation KEK 2K CA 2023'
Press enter
[System.Text.Encoding]::ASCII.GetString((Get-SecureBootUEFI db).bytes) -match 'Windows UEFI CA 2023'
Press enter again
If the word ‘False’ appears for either command, then you do not have the latest Secure Boot certificates.
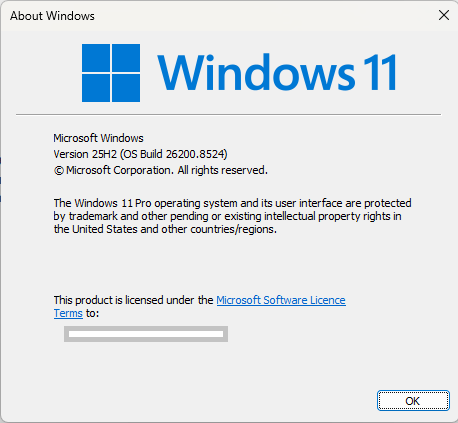
Next, find out which version of Windows 11 you’re running, press ⊞ Win + R and type ‘winver’ and press enter, a window should open with the Windows 11 logo, look for the line just below ‘Microsoft Windows’, in my case it says ‘Version 25H2’, which is currently the latest version, if yours says 24H2 or 23H2 you need to update your Windows. Press the Windows key and type ‘Windows Update’, click ‘Check for updates’ and then click the ‘Check for updates’ button, in my case I was running 23H2 which meant it was no longer supported and didn’t receive updates, but don’t worry if there doesn’t appear to be any updates, we can still upgrade to the latest version!
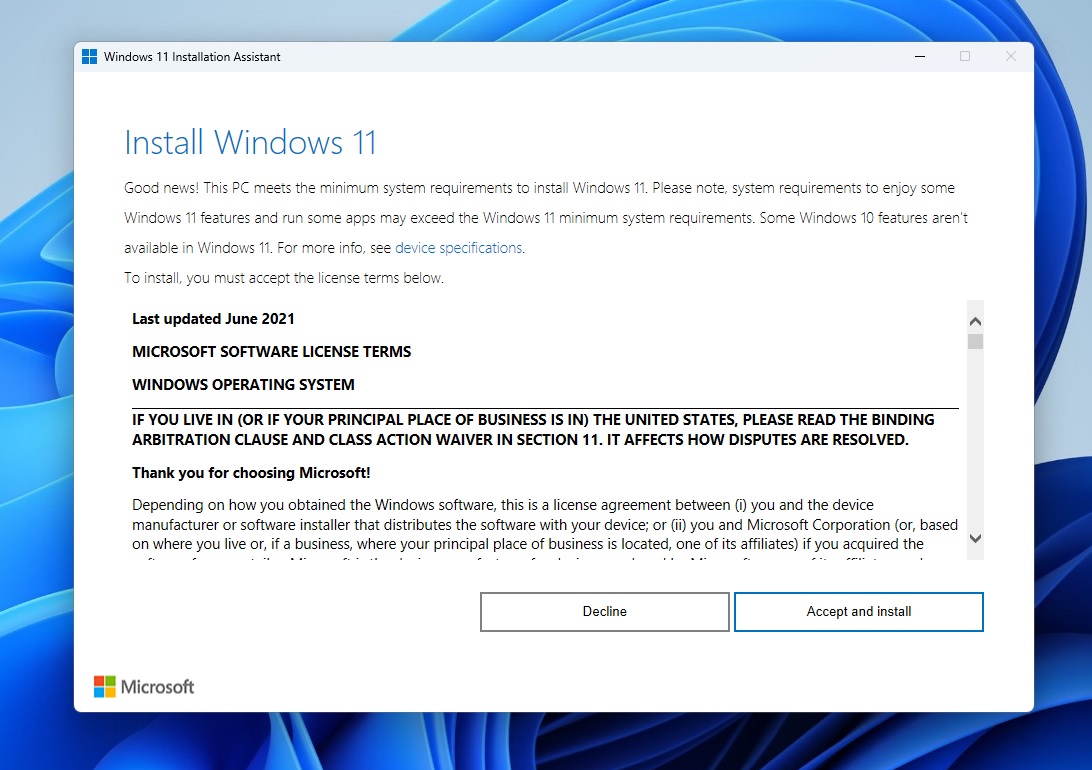
Ok, head to https://www.microsoft.com/en-gb/software-download/windows11 and click ‘Download Now’ under the top section entitled ‘Windows 11 Installation Assistant’. It’s only a small file so should download in seconds.
Next, double click the program you just downloaded and click through to install Windows, don’t worry this will not erase your C: drive or any of your program, settings or files even though it looks like it’s reinstalling Windows! Note: You may be prompted to install the Windows PC Health Checkup utility, just click the link in the Installation Assistant and run it. Let the installer do its thing, this will take quite a while, so just leave your PC alone and when prompted, reboot the PC. It may reboot a couple of times while updating, you will see a black screen with white text indicating it’s updating.
Once Windows has finished updating, verify you’re on the latest version by checking winver, next go back into Windows Security and check Secure Boot once again, don’t worry if it still says your certificates are out of date!
We can force Windows to update the Secure Boot certificates, open up a PowerShell (as administrator), press the Windows key and type ‘PowerShell’, right click the icon that appears under the search bar and click ‘Run as administrator’, the PowerShell window should open up. Next, type or paste the following command:
reg add HKEY_LOCAL_MACHINE\SYSTEM\ControlSet001\Control\SecureBoot /v AvailableUpdates /t REG_DWORD /d 0x5944 /f
Press enter, if you don’t get any errors then it worked, if you did get an error, try replacing the 0x5944 with 0x40.
Then, type or paste the following command and press enter:
Start-ScheduledTask -TaskName "\Microsoft\Windows\PI\Secure-Boot-Update"
Next, exit the PowerShell and reboot Windows, now this may require you to reboot two or three times, once you’ve rebooted, open Windows Security and check if the message below Secure Boot has changed to ‘Secure boot is on and all required certificate updates have been applied’, if not try the previous command (‘Start-ScheduledTask…’) again as an administrator in PowerShell and reboot.
So, this was exactly the method I used to update my certificates, if however this still hasn’t worked, then I’m afraid to say the only other option is to update your BIOS, motherboard manufacturers bundle the latest Secure Boot certificates in the BIOS firmware which means you will need to get yourself a USB drive, format it to FAT32 and download the latest BIOS for your motherboard, in my case it is a .CAP file for my ASUS TUF Gaming motherboard, make sure the only file on the USB drive is the firmware file. You will need to lookup your exact motherboard make and model and find out how to do a BIOS update, make sure you don’t interrupt the power while the BIOS is flashing, just leave the PC alone to do its thing and hopefully your BIOS will then be updated to the latest version with the new Secure Boot certificates!
It’s important you do this now as the old Secure Boot certificates expire in late June, act now and keep your Windows PC secure and up to date! Good luck!
P.S: Yes, I know Linux exists, I use it, but I also use Windows a lot, so there!